How to ‘temper’ chocolate at home

How to ‘temper’ chocolate at home

This method is not strictly tempering the chocolate – it’s more mindful melting!

It still produces great results if done properly, with the right sort of chocolate.  

All you need is a microwave! You may have burnt chocolate in the microwave before but follow these simple steps and you will have great results from now on!   If you do have a disaster with your chocolate, take a look at some tips for fixing things.

Here’s how to ‘temper’ chocolate at home:
  1. Always use a plastic bowl (glass bowls hold too much heat and will eventually overheat the chocolate). 
  2. Use a minimum of 300g of good quality chocolate – chopped into small even-sized pieces. You can save any leftover chocolate you don’t use in an airtight container for another time. Buy your chocolate in button-form, it will save all the chopping!
  3. Put the chocolate into the microwave on full power for very short bursts at a time. Initially 30 secs to 1 min (or slightly longer for bigger volumes). Between each burst stir your chocolate, even if it has not started to melt yet – still give it a good stir. 
  4. It’s very important to get a lot of movement into chocolate – so keep stirring away, it will work wonders for the finished look!
  5. As the chocolate starts to melt, reduce the bursts in the microwave to 10-15 seconds. Stir every time you stop to see how the chocolate melt is progressing. 
  6. When the chocolate has almost melted, but there are still some un-melted lumps present, stop putting the bowl into the microwave. Now stir until the heat of the chocolate has melted the remaining lumps in the bowl. 
  7. Another good ‘temperature’ test is to put your hands around the outside of the plastic container. You should feel almost no heat whatsoever. The chocolate should be about the same as the temperature of your skin. 
  8. If the melted mixture feels too warm, then add some more chocolate and stir to melt the freshly added chocolate. Use the residual heat of the melted chocolate. Don’t put the bowl into the microwave again! If you can’t melt all of the freshly added chocolate, then pop the bowl into the microwave again for just a few seconds and repeat as above.
  9. The chocolate will not last very long in this state, it will start to get too thick to work with. Pop it back in the microwave for a few seconds to bring it back again. Be careful, it’s very easy to overheat! 
  10. If you make the chocolate too hot, you can add more fresh chocolate to the mix to bring the temperature back down again, as mentioned in point 8 above. 
  11. This will produce chocolate that you can use for moulds, piping, or dipping. It will seem quite thick in consistency – the bigger the quantity of chocolate, the longer you will have to ‘work’ with it.  
  12. Remember to leave your chocolate creations at room temperature to set (in a room that is not above 20°).
  13. You should ideally store chocolate in a cool, dark place and not in the fridge. Putting chocolate in the fridge can cause it to ‘bloom’ – where you will see white marks forming on the surface where the sugar and/or cocoa butter comes to the surface. 
  14. Bloom occurs because the chocolate has not been tempered properly, or the room is too warm when it is setting, or indeed it is cooled too quickly. It is still safe to eat, it just doesn’t look as appetising – ‘see what to do when it goes wrong for some tips on recovering from this scenario!

chocolate callets in a plastic bowl with stirrer
even-size chocolate
Chocolate callets in a plastic bowl
Keep stirring
Melting chocolate in plastic bowl
Melting callets
Melting chocolate in a plastic bowl
Almost there

Finally, come and share your creations with us all on my Facebook page! Enjoy

How to get great results with chocolate

How to get great results with chocolate

It’s all about the chocolate

So many of the problems that people face in their home chocolate creations are because they started with the wrong ingredient!  

They bought chocolate – but not the right kind of chocolate!

If you want to get great results with chocolate, you need to buy great chocolate.

What type of chocolate should you buy?

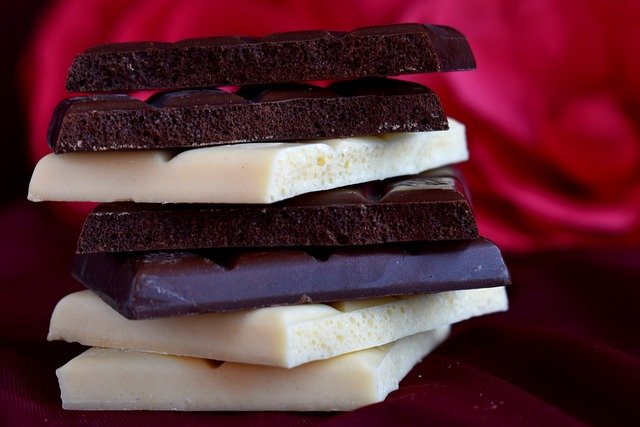
squares of white and dark chocolate in a pile

Now we’ve all heard about the magic 70%; buying chocolate with 70% cocoa content means that it must be a quality bar. Well in some cases that will be true of course. Just because it has more chocolate in it, doesn’t mean the chocolate is of good quality. Please don’t be fooled by numbers – it’s really about what you like the taste of!

Saying that numbers are important!  You are looking to buy chocolate with a minimum of 30% cocoa content – any less, and you will have real troubles trying to get it to ‘temper’, especially if it contains vegetable fat!

Where can you buy the right chocolate?

I recommend the supermarket’s own brands for home chocolate cooking, they have some really good and more interesting chocolate bars in stock. If you are looking for gourmet, Willie’s Cacao and Valrhona are two quality brands that can be found fairly easily at Waitrose and often good deli’s too.

Gourmet chocolate is making its mark, so if you want to explore some fantastic bars, read my interview with Master Chocolatier Paul A Young for some top tips on the best artisan producers and bars around on the market today.

Can you work with different chocolate?

If you are looking to work with either white or milk chocolate, then you need to ensure that it has a minimum cocoa content of 30%. if you are working with dark chocolate, then usually you will be looking at around 70%.  

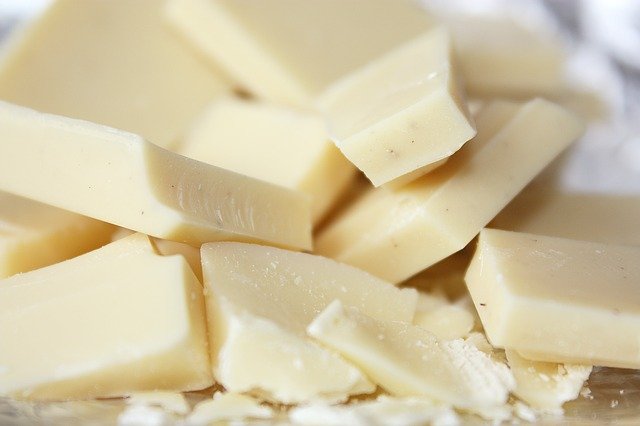
chunks of white chocolate

It does depend on the flavour profile of the chocolate, one of my favourites is a 64% cocoa Ecuadorian chocolate which has a great depth of flavour. Taste it first, and see what you think!

You can use 100% cocoa (such as Willie’s cacao) to which you would add more sugar to the recipe! Here’s a dark chocolate cake recipe to try.

Experiment and see what you like best. Use the cheap stuff and you will always struggle to get decent results (your average Cadbury bar has only around 20% cocoa content). If you experience a chocolate disaster, take a look at some tips to remedy things.

Too hot to handle!

Temperature is everything with chocolate!  

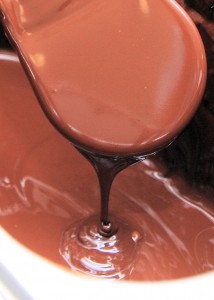
Molten chocolate and spoon

If the room is too warm then it will not set properly and you will see dull and streaky results. “Ah, I shall pop it in the fridge then” – I hear you cry! NO! Cool too quickly and this can also ruin your finish!

So, the key thing is to work at a cool temperature, but not too cool! Your room needs to be 20° or below. If you go much above 20° you will start to have problems setting your chocolate.

If you were thinking of making those truffles on the hottest day of the year, think again – or get up very early!  

Chocolate does not like humidity either, so a very wet day can also cause problems. Don’t have the kettle on too often and fill your kitchen with steam!

Once you have made your chocolate creations, leaving them to set at room temperature (provided your room is at the right temperature), in a cool pantry, a shed, or even garage is ideal.

When you have properly tempered your chocolate, leave it to cool at the right room temperature, it will start to set fairly quickly.  

Leave it for around 30mins at least to make sure it’s fully set (more for thicker creations). 

You should see a nice smooth, shiny finish and chocolate that easily pops out of moulds or comes off the surface easily, without any hassle!

Losing your temper with chocolate!

Now chocolate is a fickle friend, and the way we handle the chocolate will be key to getting great results. It’s all about getting a good temper on the chocolate – and each chocolate will have a different tempering point!

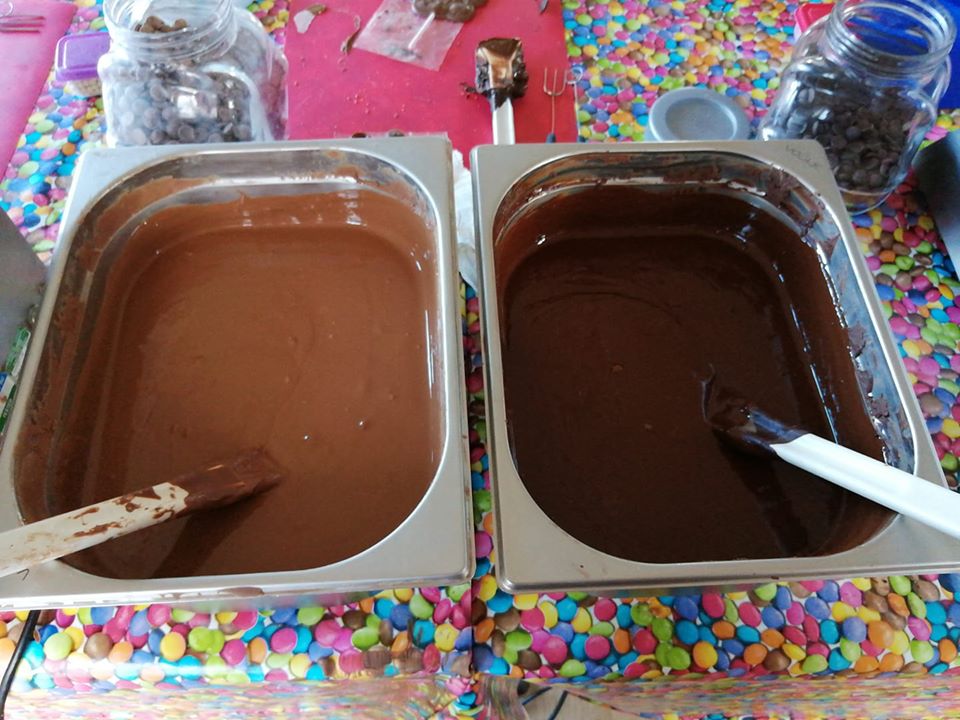
Two tanks of chocolate

Tempering chocolate changes the structure of the crystals within chocolate so that we get a nice shiny finish and snap to our chocolate when set. To do this we heat the chocolate to 45° to melt away the main crystals, then cool quickly to a very specific point (usually around 30° to 32°) to make the right crystal present. Sounds very scientific and rather complicated, doesn’t it!   

As chocolatiers, we will usually use tempering machines, temper traditionally on marble, or the seeding method (my preferred choice) where we add fresh chocolate to heated chocolate to cool the chocolate mixture to the right point.  

You are not likely to have access to such expensive equipment, or indeed work with such quantities of chocolate, so read my secrets to successfully ‘tempering’ chocolate at home.

Show us what you made! Come and share your creations over on my Facebook page. Let’s talk chocolate!