I’m not so keen on telling this story, as the re-telling brings back ‘bad’ memories.
Most of the tales from my chocolate tanks bring back happy memories, inspiration, and joy. I will be sharing more tales in future blogs, so watch this space!
I’m kick-starting my tales with a total chocolate-disaster though darling!
It’s all in the planning
I was booked for a corporate chocolate team-build, and I always check the venue and access beforehand. I had some concerns as there was no on-site parking, but I was assured of a loading bay for access.
On arrival, the loading bay was blocked. As time was ticking on, I had to find somewhere else to park. The nearest alternative was a multi-storey car park. I found a spot and told the venue I had arrived. I was unloading my car when it all went very wrong!
Disaster struck
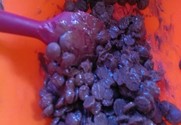
In case of access issues, I had bought a trolley (premonition on my part?). Including my large chocolate tank, I loaded up the trolley and set off.
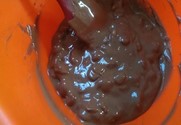
Two paces from the car, the whole trolley load fell to the ground. My chocolate tank toppled off the top, spilling all its contents (eight kilos of molten chocolate) all over the car park floor.
Not only did it spill, but it also splashed all over my body and clothing leaving me dripping in chocolate and a total mess.
I couldn’t deliver the event for the client at all. Even if I had gone along and ‘made do’ with the other chocolate activities we had planned I was unfit for purpose. Covered head to toe in chocolate is not the best look!
Honesty is the best policy
I phoned and explained what had happened, and to my shame I even found myself getting upset on the phone. It was only a fun thing for them, but I always wish to deliver what I promise and I was truly devastated to let my client down.
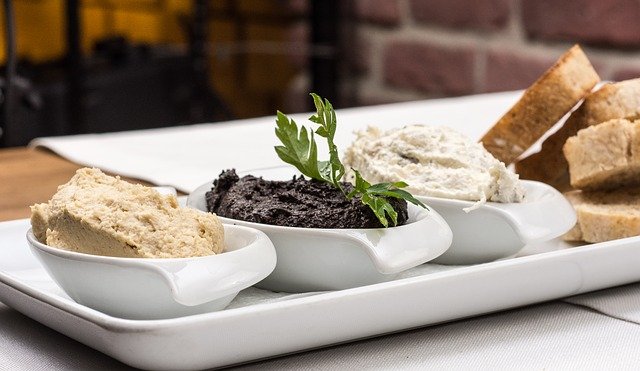
Of course, I offered their money back and to do the event on another day. To their utter credit, they just asked me to make the chocolates on their behalf and deliver them at a later date. No question of me giving them a refund. How kind is that? Of course, I bought an extra treat for each of them and popped that in their bags of chocolates too.
Meanwhile…..
Back at the car park, kind people were coming up to me and asking if I was OK. Snivelling, covered in brown ‘stuff’ – how brave were they to approach me at all!
The icing on the cake came when a lady driving a huge 4 x 4 drove straight through the chocolate puddle and got me covered in even more chocolate. Without even a backward glance – it was the final straw!
So I packed up my wares and headed out of the multi-storey, only to find that I had forgotten to validate my car park ticket in the mayhem. Getting out of my car to go and see the attendant, he saw me approach, took one look at me immediately opened the barrier. I thanked him and said, “I think you will find there is a bit of chocolate on Level 3”!
It was a great to experience how good people are when you are honest, open, and do your best for them, despite the difficulties you are facing! I have also definitely learned from this rather messy mistake.
It’s also provided a good few laughs at a dinner party or two – you can borrow it if you like, but I don’t recommend repeating the experience!
Come and tell us your funny stories over on my facebook page.